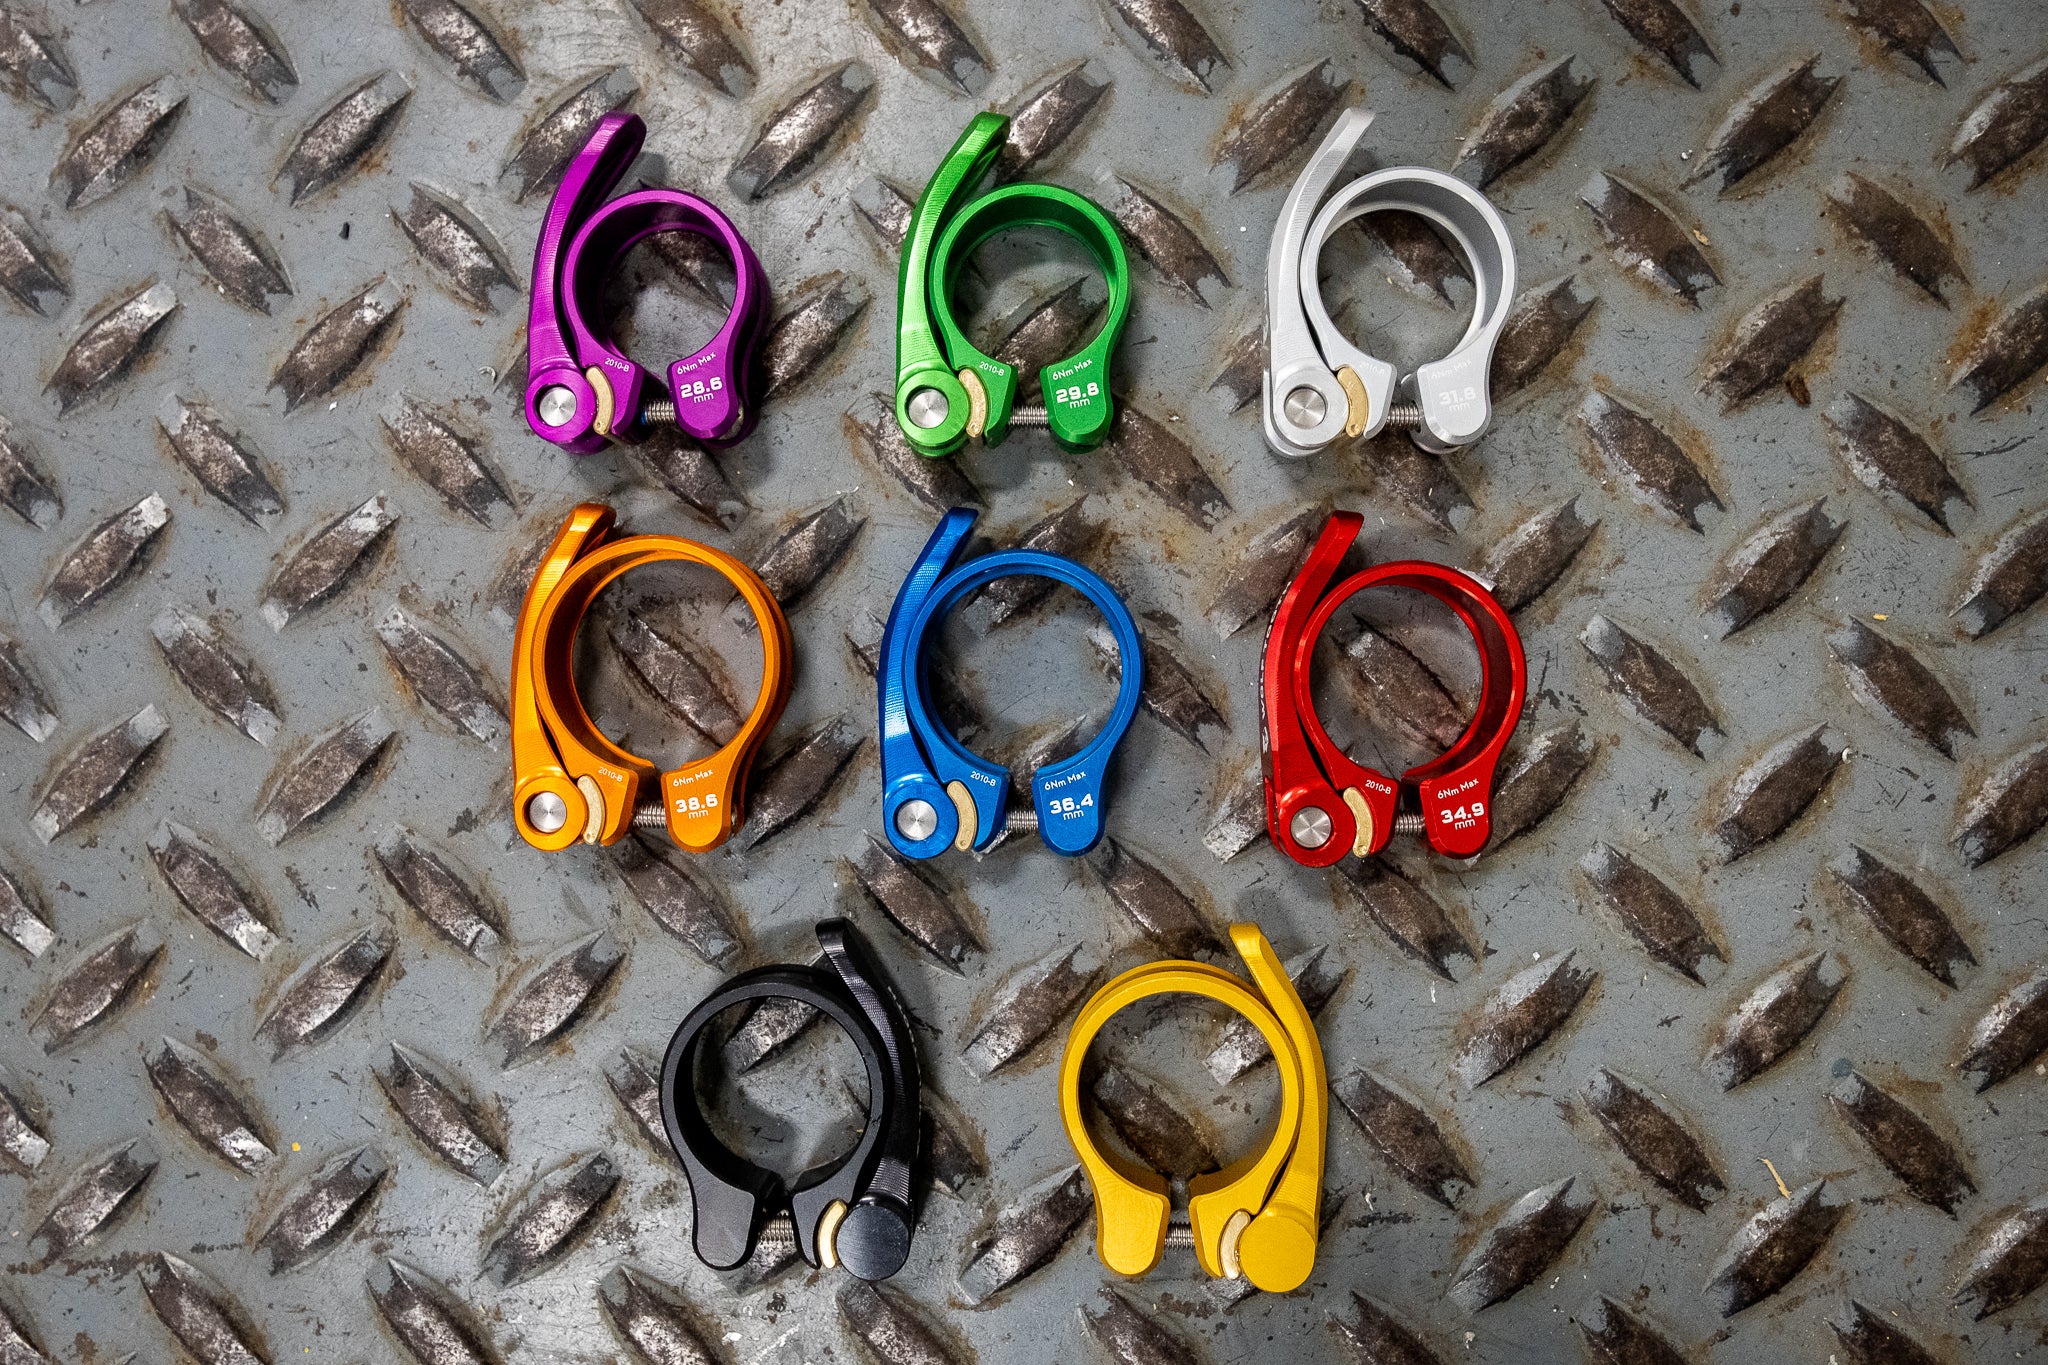
We just released our popular Seatpost Clamp in a new flavor: Quick Release. With several different sizes and all of your favorite colors, you have another option to help you get closer to your dream bike. Learn how to install and set the torque on this new Wolf Tooth Components QR (Quick Release) Seatpost Clamp with this simple guide. Once it’s set, you shouldn’t have to worry about adjusting it again: you can just flip it open to adjust, or remove your seatpost, then flip it back closed to secure it back into place.
What you'll need:
- 4mm Hex Torque Wrench
- Carbon Paste or Grease

First, prep your seatpost. Use grease if you have a steel or aluminum seatpost and frame. If either the frame or seatpost is carbon fiber, do not use grease. Oftentimes you can prep your seatpost with carbon paste, as we are doing, but make sure to check with your frame and your seatpost manufacturers’ recommendations prior to applying anything.

Next, install the QR Seatpost Clamp onto your frame, taking care to line up the slot on your frame and the slot on the Clamp, if available, and ensuring the inner lip of the Clamp is fully nested onto the seat tube.


Install your seatpost to the desired height, unless that is yet to be determined, then you can install it somewhere in the middle, and readjust once you have the torque set.
If it isn’t already, flip the lever on the QR Seatpost Clamp closed. You may have to loosen the bolt on the clamp if this is not easily done. Using your frame and/or seatpost torque specs as a guide, use a 4mm hex torque wrench to set the torque. Never exceed 6 Nm, and if you are using a carbon seatpost or a dropper post, you may have to set it at a much lower measurement to prevent any crushing or binding of materials.

Now that the torque is set, you shouldn’t have to retorque it again unless you install a different seatpost. Until then, adjusting the seat height on your bike should be a breeze!


Share:
How to measure Bolt Circle Diameter (BCD)
1x Drivetrains Explained - Gearing, Mechanics, and Optimization